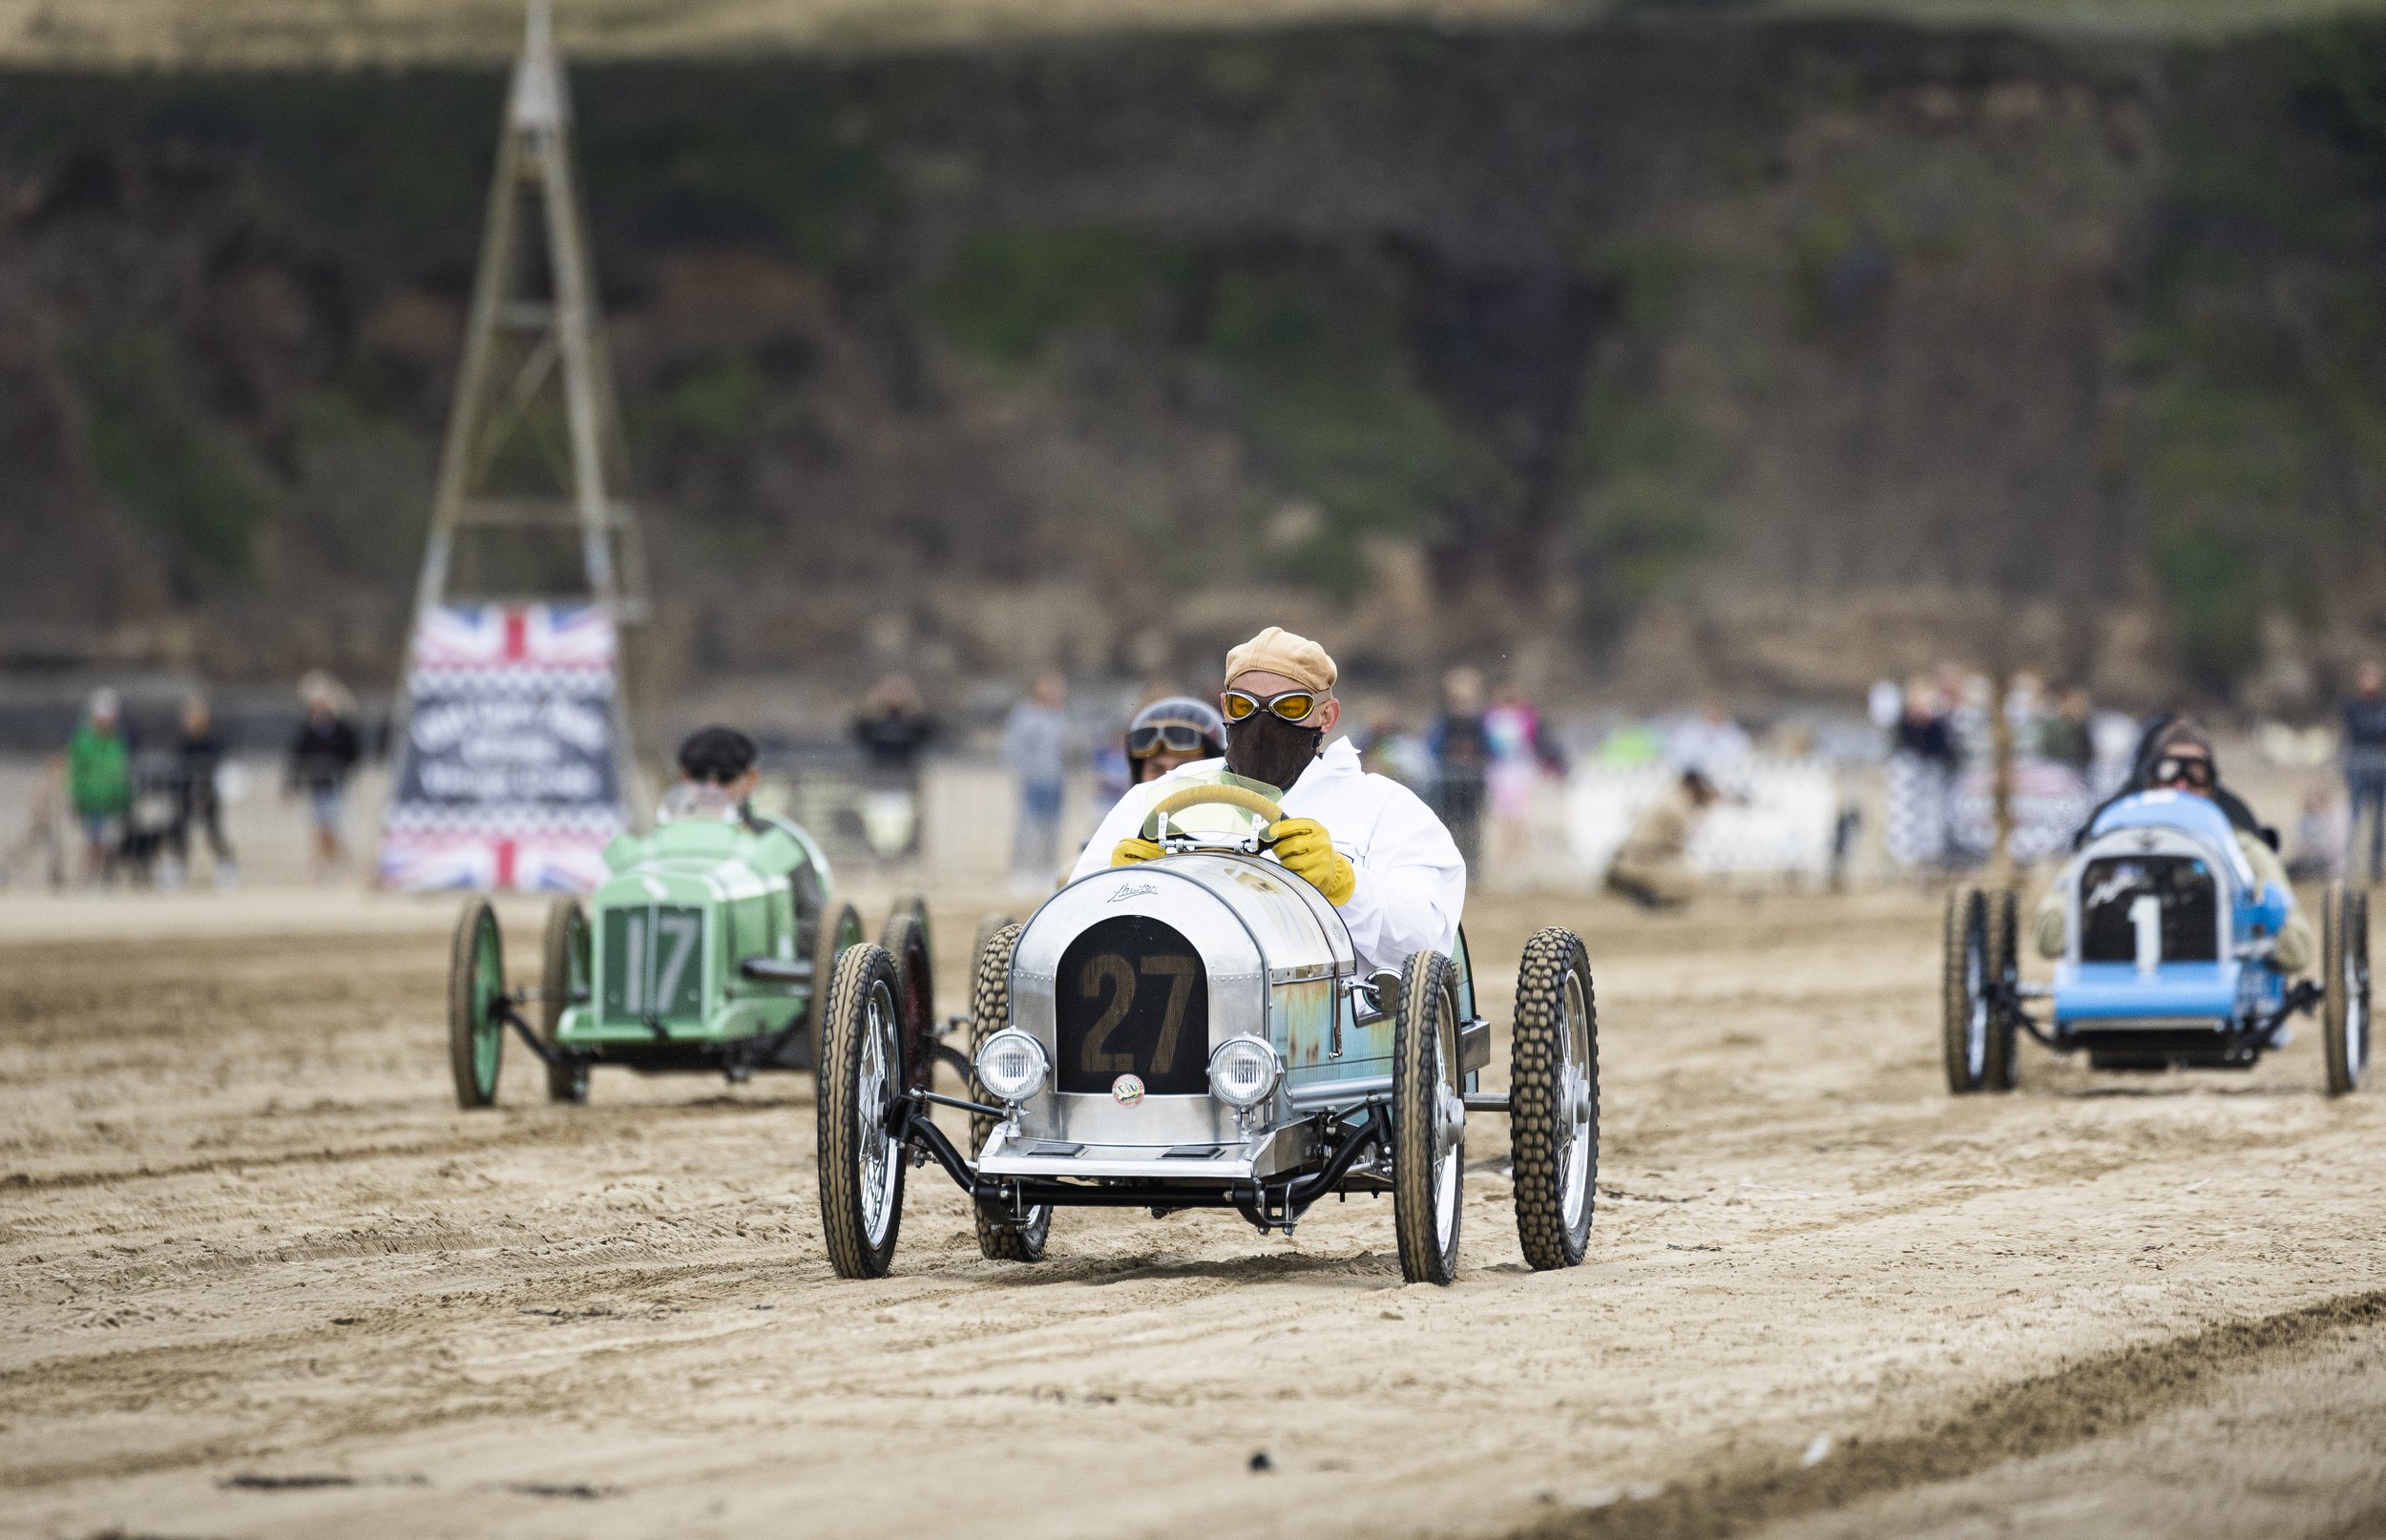
Austin 7 Special
It didn’t take long to get it physically operating but it has taken a long time to understand what was needed to get it to the stage it is today.
I have been around Pre-war vintage cars since my earliest memories. My Dad has always had a MG M-type in the garage, but it wasn’t until we did a hillclimb down in Devon at Beggars Roost around 10 years ago in RX6795 with the MMM chaps, that I really got interested in pre war vehicles as I had always had my own projects and more modern cars. I don’t actually fit in Dad’s M-Type very well (something that I also struggle a little with my Cyclekart - Haha), So I haven’t driven the M-type much but it’s the history behind his car is what really fascinates me with lots of features in books and photos racing in hill climbs and circuits such as Brooklands.
Forward some years and I kind of stumbled upon Cyclekarts with a friend and together purchased some end of line chassis and kit that was advertised for sale. As far I was concerned there was no one in the UK building them or doing anything with them so it all sat dormant for many months before I started a one off body which didn’t really go to plan (A huge under estimate of how much is involved). Forward some more months and I finally met some of the guys who had been tinkering away and forming a small gathering of like minded enthusiasts (GKGB) and as by chance Jim lived not far from me and with his help got my basic Cyclekart flying around my lock up yard in no time - and the rest as they say is history! but I am very grateful for the help back then as that is exactly the spirit of what Cyclekarts are all about :)
The Inspiration Car
As my Cyclekart was designed as a generic racer of the era it was a bit ‘cart before horse’ when it came to getting it to look how I wanted it, but through this process I found that I kept coming back to Austin 7 Specials. I also wanted to add my own styling where possible. You may be wondering why I didn’t choose the M-Type as I have such an affinity with it, but I wanted a different look plus with so much motoring history in Great Britain no point in having two right?
The Chassis
The Chassis is a Cyclekart UK Brooklands version 3 x 1” Steel. It is a very well made robust design but quite heavy.
Running Gear & Engine choice
Genuine Honda GX 200cc engine with a Comet Tav 2 CVT drive to a single wheel with a single braked wheel. Like others, I can key both wheels for certain events but it steers about as well as the Titanic if you do!
Engine tweaks were the normal mods including; Governor removal, Advance timing key, Flat top piston & billet con rod for reliability, 18lb valve springs, 140 emulsion tube, Polishing, Exhaust and filter. I had it on the Dyno and it ran just shy of 9hp before the exhaust so I am happy that it sits at the 10hp mark or just under. The final tweak out back has been the inclusion of a Juggernaut drive unit for the CVT. This unit has really helped with keeping the revs up and stopping the bogging down effect that happens on some tracks we attend. It has also helped in pushing the 250kg ish!!! weight (including me) along to make it that bit more fun.
I changed out the font axle for the renowned Gemini version with their stub axles in a bid to understand steering etc but as far as I’m concerned that’s all witchcraft!! - but it works well.
I spent a lot of time trying wheel and tyre combinations in a bid to not only achieve the ‘look’ I wanted but also find a tyre that gave good grip and I think I finally got there by going for a slightly wider rim on the rear I now run a 3.0 width rear and a 2.5 front. This gives my the ability to swap the rears out for any tyre pattern, like the knobblies when we were at Saunton Sands.
The Body
The Body is made up of 3/8 plywood sides, floor and bulkhead. Aluminium bonnet with ply and perforated Ali rear section. It’s all quite simple but this is where my day job came into play a little as I designed a vehicle wrap for the sides and had it printed to give a ‘patina’ look with fake side pipes and rivets galour!! It has held up well over the last few years and all conditions plus if I get bored I can do another in the future. The most recent addition was chopping a whole host of material off the front end to reduce the weight and to create the nose you see here. After a bit of cardboard design and a lucky find of an old Ali lampshade the new face was born, it worked out pretty well and can be removed as one whole section for maintenance. I suffer with back problems so invested in a fibreglass seat designed for beach buggies and had it covered professionally, well worth it and gives it a lovely look. I would love a bit of rear suspension but that would certainly be for another design.
What’s the least and most favourite part of the build?
I have been plagued with brake issues after an accident where she was flipped over and all sorts happened and it bent lots of things out of line. It turned out that the rear brake mount had moved slightly so you just couldn’t get it to bite properly. It has also now had further mods to the pedal assembly and it is back to normal finally. This may not sound much but it is very involved removing the bodywork to get to certain parts and so some inspection hatches are on the list for sure in the future!!
My most favourite part of the build was learning how to re-spoke wheels. Due to the pressures we put on these wheels and the overall weight of my Cyclekart I was bending spokes like they were going out of fashion, so I purchased 9 gauge stainless spokes for the rear and put some serious time in learning this dark art - I am no guru but happy with the results. I also think my 3D designed and printed spinners came out quite well and they are one of the things that are really light!
How long did it take to build?
It didn’t take long to get it physically operating but it has taken a long time to understand what was needed to get it to go well stage it is today to work for me, some things have worked well and others not so well so it has been trial and error, but now it is a great reliable and robust machine.
How does it drive?
In the beginning it wasn’t the best, but even so they are such a laugh and once you are driving all that goes out the window. I am happy today that it drives well on pretty much any track or surface. An area that did need a lot of trials and understanding was the gearing, I think that I now have the combo that works for all round usability.
Ongoing changes and tweaks
Future changes include:
- Inspection hatches for easier maintenance
- Epoxy the rear hubs for strength
- Lower the floor under the seat
- Make the lights all work


